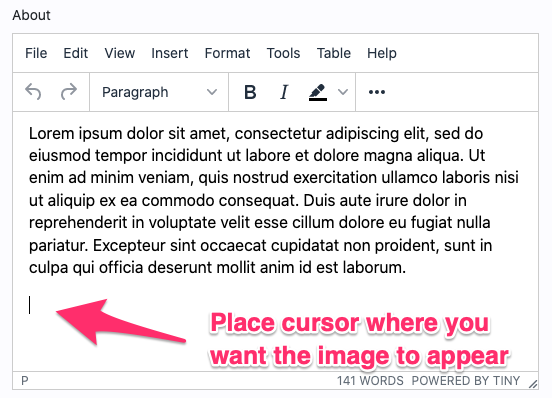
First, place your cursor in the text where you want to embed the image(s).
Select Insert from the menu, and click Image.
A dialog box will appear for inserting media. It will automatically show the General screen.
If the image is already hosted somewhere on the internet, you can simply copy the image URL and enter it into the field Source.
If you plan to upload the image from your computer, you'll need to select Upload from the left sidebar. The dialog box will now show a place for you upload it. You can either drag and drop the image or click Browse for an image to open your files.
If you upload an image, it will automatically flip the screen back to the General section. The URL listed is your new image URL. The width and height of your image will also show automatically. Click Save.
The dialog box will close, and your image will be embedded within the text editor.
Your image shows with a blue box around it. You can select one of the four corners and drag to resize the image directly within the editor.
After your image is live, click the blue Save button to publish the image to your website.
Learn More:
- How to Turn an Image into a Link
- How to Add a MP3 with a Audio Player
- How to Resize Images in Text Editor